Our Crafting Process

Stage 1: Casting

Your custom ring design begins with a 3D-printed wax mold. This mold is then coated with "investment" material, baked, and filled with your chosen precious liquid metal. Once cooled, a metal cast of your design is formed.

Stage 2: Polishing

The ring's shape is refined and polished to a brilliant mirror finish using a wheel and buffing compound. The setting, often in two pieces, is then meticulously attached, with claws securely soldered to the band.

Stage 3: Stone Setting

Securely setting stones is crucial for their longevity.

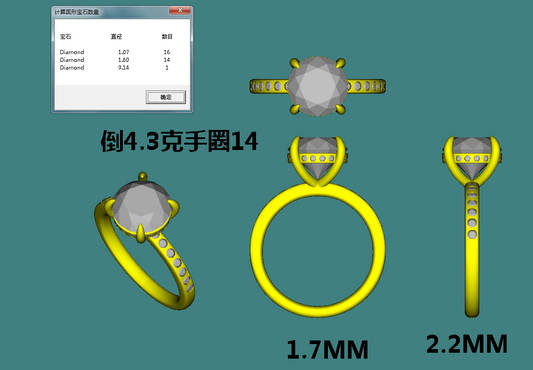
Prepare the Seat: Holes are drilled into the setting, creating a secure "seat" for stones, particularly for side stones or hidden halos.

Create the Gallery: Drilling tools form a "gallery," optimizing sparkle by allowing light entry from the sides.

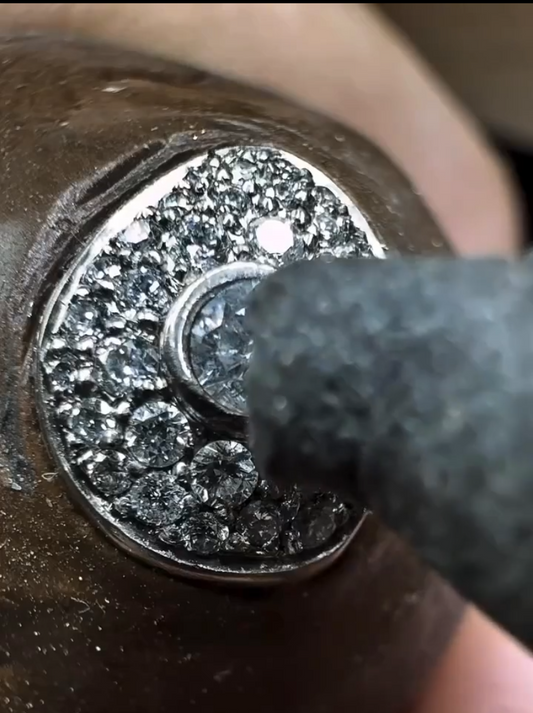
Setting Accent Stones: Stones are carefully pressed into their seats, with claws individually formed and pressed over each.

Set the Center Stone: The most valuable stone undergoes a secure setting, vital given its exposure to wear.

Stage 4: The Final Touches

Your ring receives a final polish. If white gold, a rhodium plate enhances durability and provides an ultra-white finish. Rigorous quality control ensures your ring meets the highest standards.